Headshot Winners

Those of us who took the recent on-line Peter Hurley headshot workshop had a critique this morning, comparing photos taken before the course and those taken as we were finishing the workshop. Peter usually prefers photographs of adults, since much of his work is with adult actors. The following were his favorites, and he did not even comment (negatively) about the fact that they were both children. He said the lighting was ideal and the expressions and poses great. For those interested, the technicals were: Nikon D800 camera, Nikon f1.4 85 mm lens, ISO 200, f9 at 1/160th; Bogen 15000 studio strobe shot into a 42″ silver umbrella and back through a 7′ diffusion umbrella. This is one of my favorite light sources for portraits and headshots. Nikon speed lights were used to light the white backdrop.

Emily-001


William-001

Portraits and Headshots

Since much of my commercial photography is now portraits and head shots, I have added a new main category to my website. Check it out by clicking on Portraits under the banner for the site. The following is one of the portraits included in the new category. This is Roger Moss who is the Director and one of the founders of the Savannah Children’s Choir. He is delightful to work with, obviously very expressive, and has a gorgeous baritone voice.

Roger-001

Lighting for HeadShots

Talk with a hundred photographers, and you will get a hundred different recommendations how best to light the same subject.  My current go-to setup for lighting head shots is a studio light (Bogen 15000 – yes it is ancient but still works) shot into a 45″ silver umbrella. The light comes back through a 7′ diffusing umbrella before it hits the subject. A 7 foot umbrella is big and bulky but gives a soft light with a nice catch light for the eyes. My studio has a 10 foot ceiling, so the umbrella is off of the floor by a couple of feet. I usually stand in front of the umbrella when shooting head shots, which can be seen if you look carefully at the catch lights.  Currently, I am using two Nikon SB 910’s  to light the white backdrop.

Peter Hurley, the instructor for the head shot workshop I just finished, uses Kino Flo’s which are four bulb fluorescent continuous lights on the subject and Porfoto strobes on the background. Westcott just came out with a continuous LED daylight balanced light source which sounds like a good alternative to using strobe. I will keep you posted on my preferred lighting as time goes on. These are several examples of recent head shots.

Headshots-001 Headshots-002 Headshots-003

Voluntary or Involuntary Expression

Never say cheese! When photographing a person, the “deer-in-the-headlights” look is a guarantee when saying “cheese” or asking the client to “smile.” To remedy this situation, there are two choices: catch the person with spontaneous/involuntary expression without them being aware of the photograph being taken. The other option is to pose the client and distract them with direction and meaningful, or not, chatter; the result is involuntary expression.

The devil is in the details – not the first time I have said that. Before the actual shoot, a number of things have already been done. Some of these include setting up the background, the lighting, choosing wardrobe, and someone being responsible for hair and makeup. Then the shoot begins.

Working with models and clients in a headshot or portrait shoot requires lots of practice – at least it has for me. I was nervous the first few times and found limited educational opportunities to learn how to direct someone I am photographing.  The online course taught by Peter Hurley (www.peterhurley.com) has been superb in doing just that. Once the client is in the “sweet spot,” he or she is distracted by chatter so they forget they are in front of a camera. And “SHABANG” as Peter would say, we have a photograph.  Simple, no, but doable. This is a self-portrait that was an assignment for the course.

Dan-001

New Bio

Lewis-001
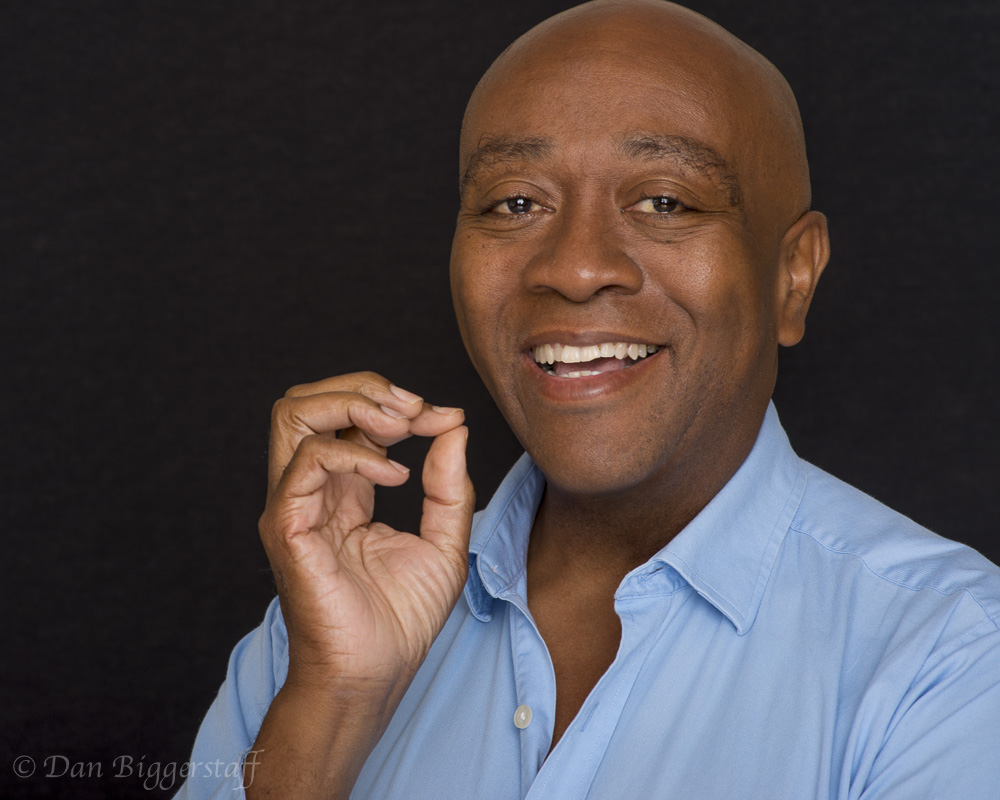
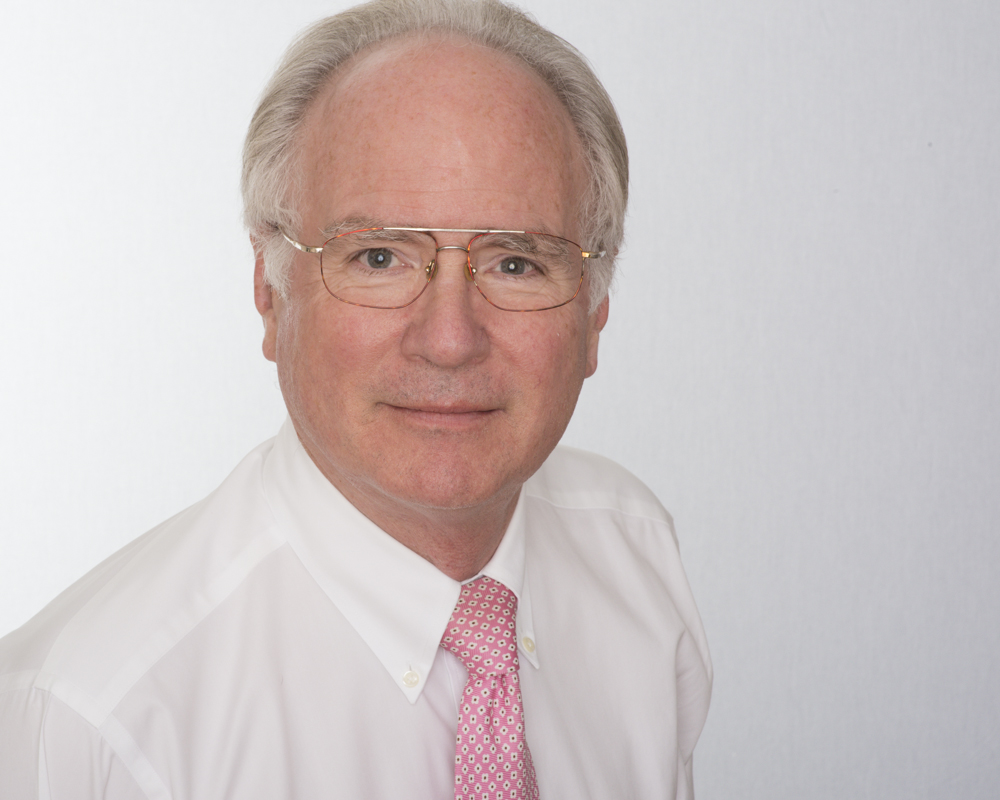
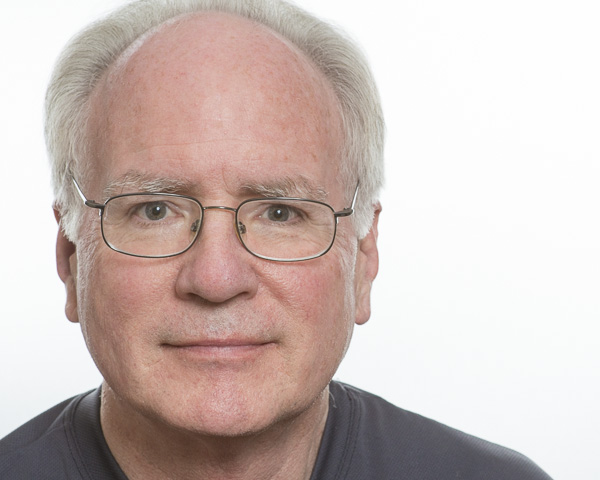
No, this is not the latest photo of me, but I would say this is a really handsome guy. It is a recent headshot photo I took of my second cousin, while visiting him in New Bern North Carolina. Uncle Lewis, as I call him, is a really nice person and a delight to be with. A big, hearty thanks to him for letting me do the photo session.

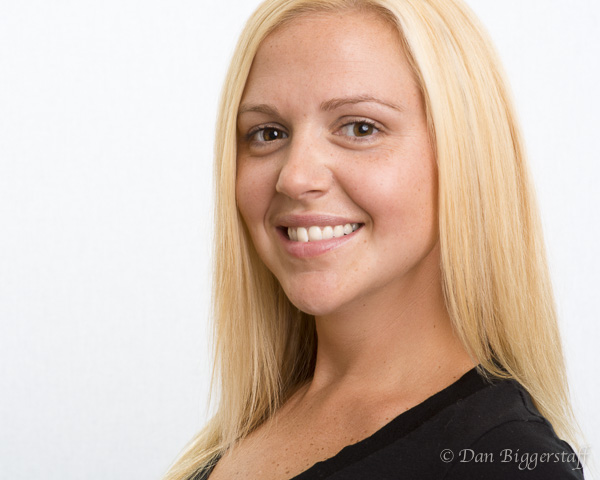
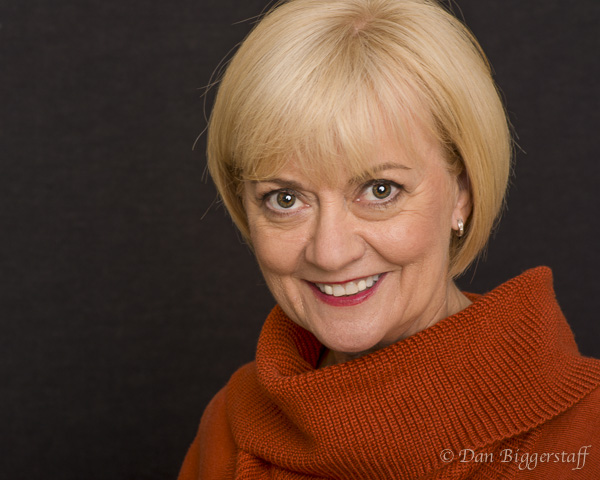
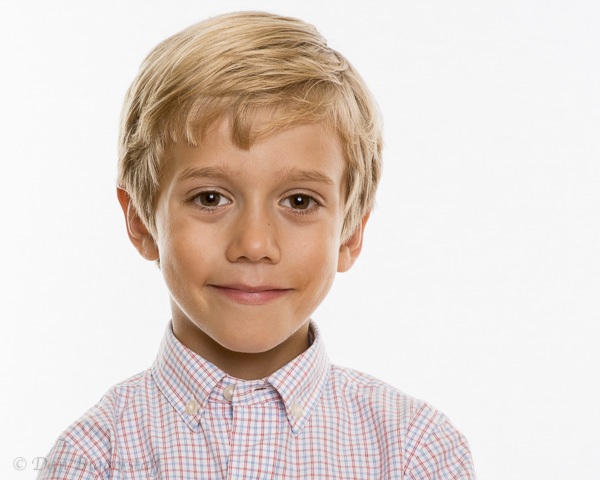
The first assignment we had in the Peter Hurley Headshot Intensive Online Course I am taking was to write a bio. This is what I posted for the assignment and will be posted in the About Me section of the website.

Bio Revised

Having two jobs I love, gynecology and photography, is a blessing. The photographer in me actually started about the same time as the doctor in me. A manual film camera, purchased during my senior year of medical school, was my first “real” camera. As a side note, my father thought it was an exorbitant purchase for a medical student and shamed me into taking it back to the store; as I recall it cost about $120. Thinking about the situation upset me, and shortly I returned to the store and repurchased the camera. I reassured the salesman that I would not be back for another return. From a photography standpoint, I have never looked back.

My training in obstetrics-gynecology was done in the U.S. Army, along with a few years of pay-back service. My medical practice became gynecology-only many years ago, allowing more time to pursue other interests. Several years of active duty in the Army in southern Germany provided an opportunity to travel and take lots of photographs.  I married my wife, Elisabeth, during medical school, and we had our two children, a daughter and son, during my residency training. We now have four grandchildren that provide great photography subjects, well most of the time.

Before I became really serious with photography, my spare time was spent with both fresh and salt water fly fishing, sailing, and a smidgen of Bluegrass fiddle. In order to spend more time with my children while they were growing up, a private pilot’s license allowed me to attend out-of-town ballet performances and away swim meets. The private-pilot thing was no small feat since I have a fear of heights. That’s another story for another time. These activities have been almost totally replaced by my passion for photography. I have to eat, so my other hobby, gourmet cooking remains intact, with northern Italian being my favorite cuisine.

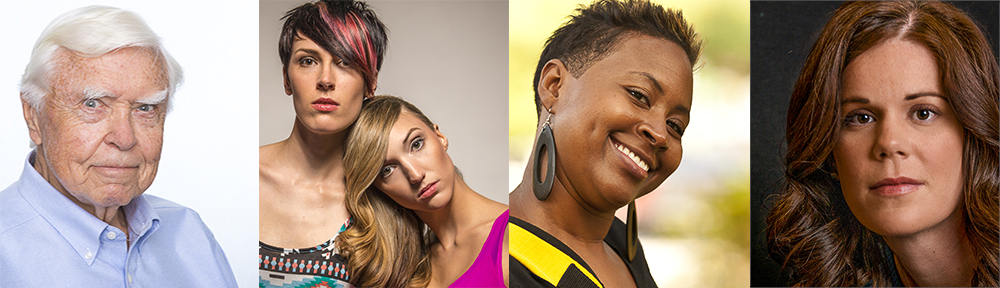
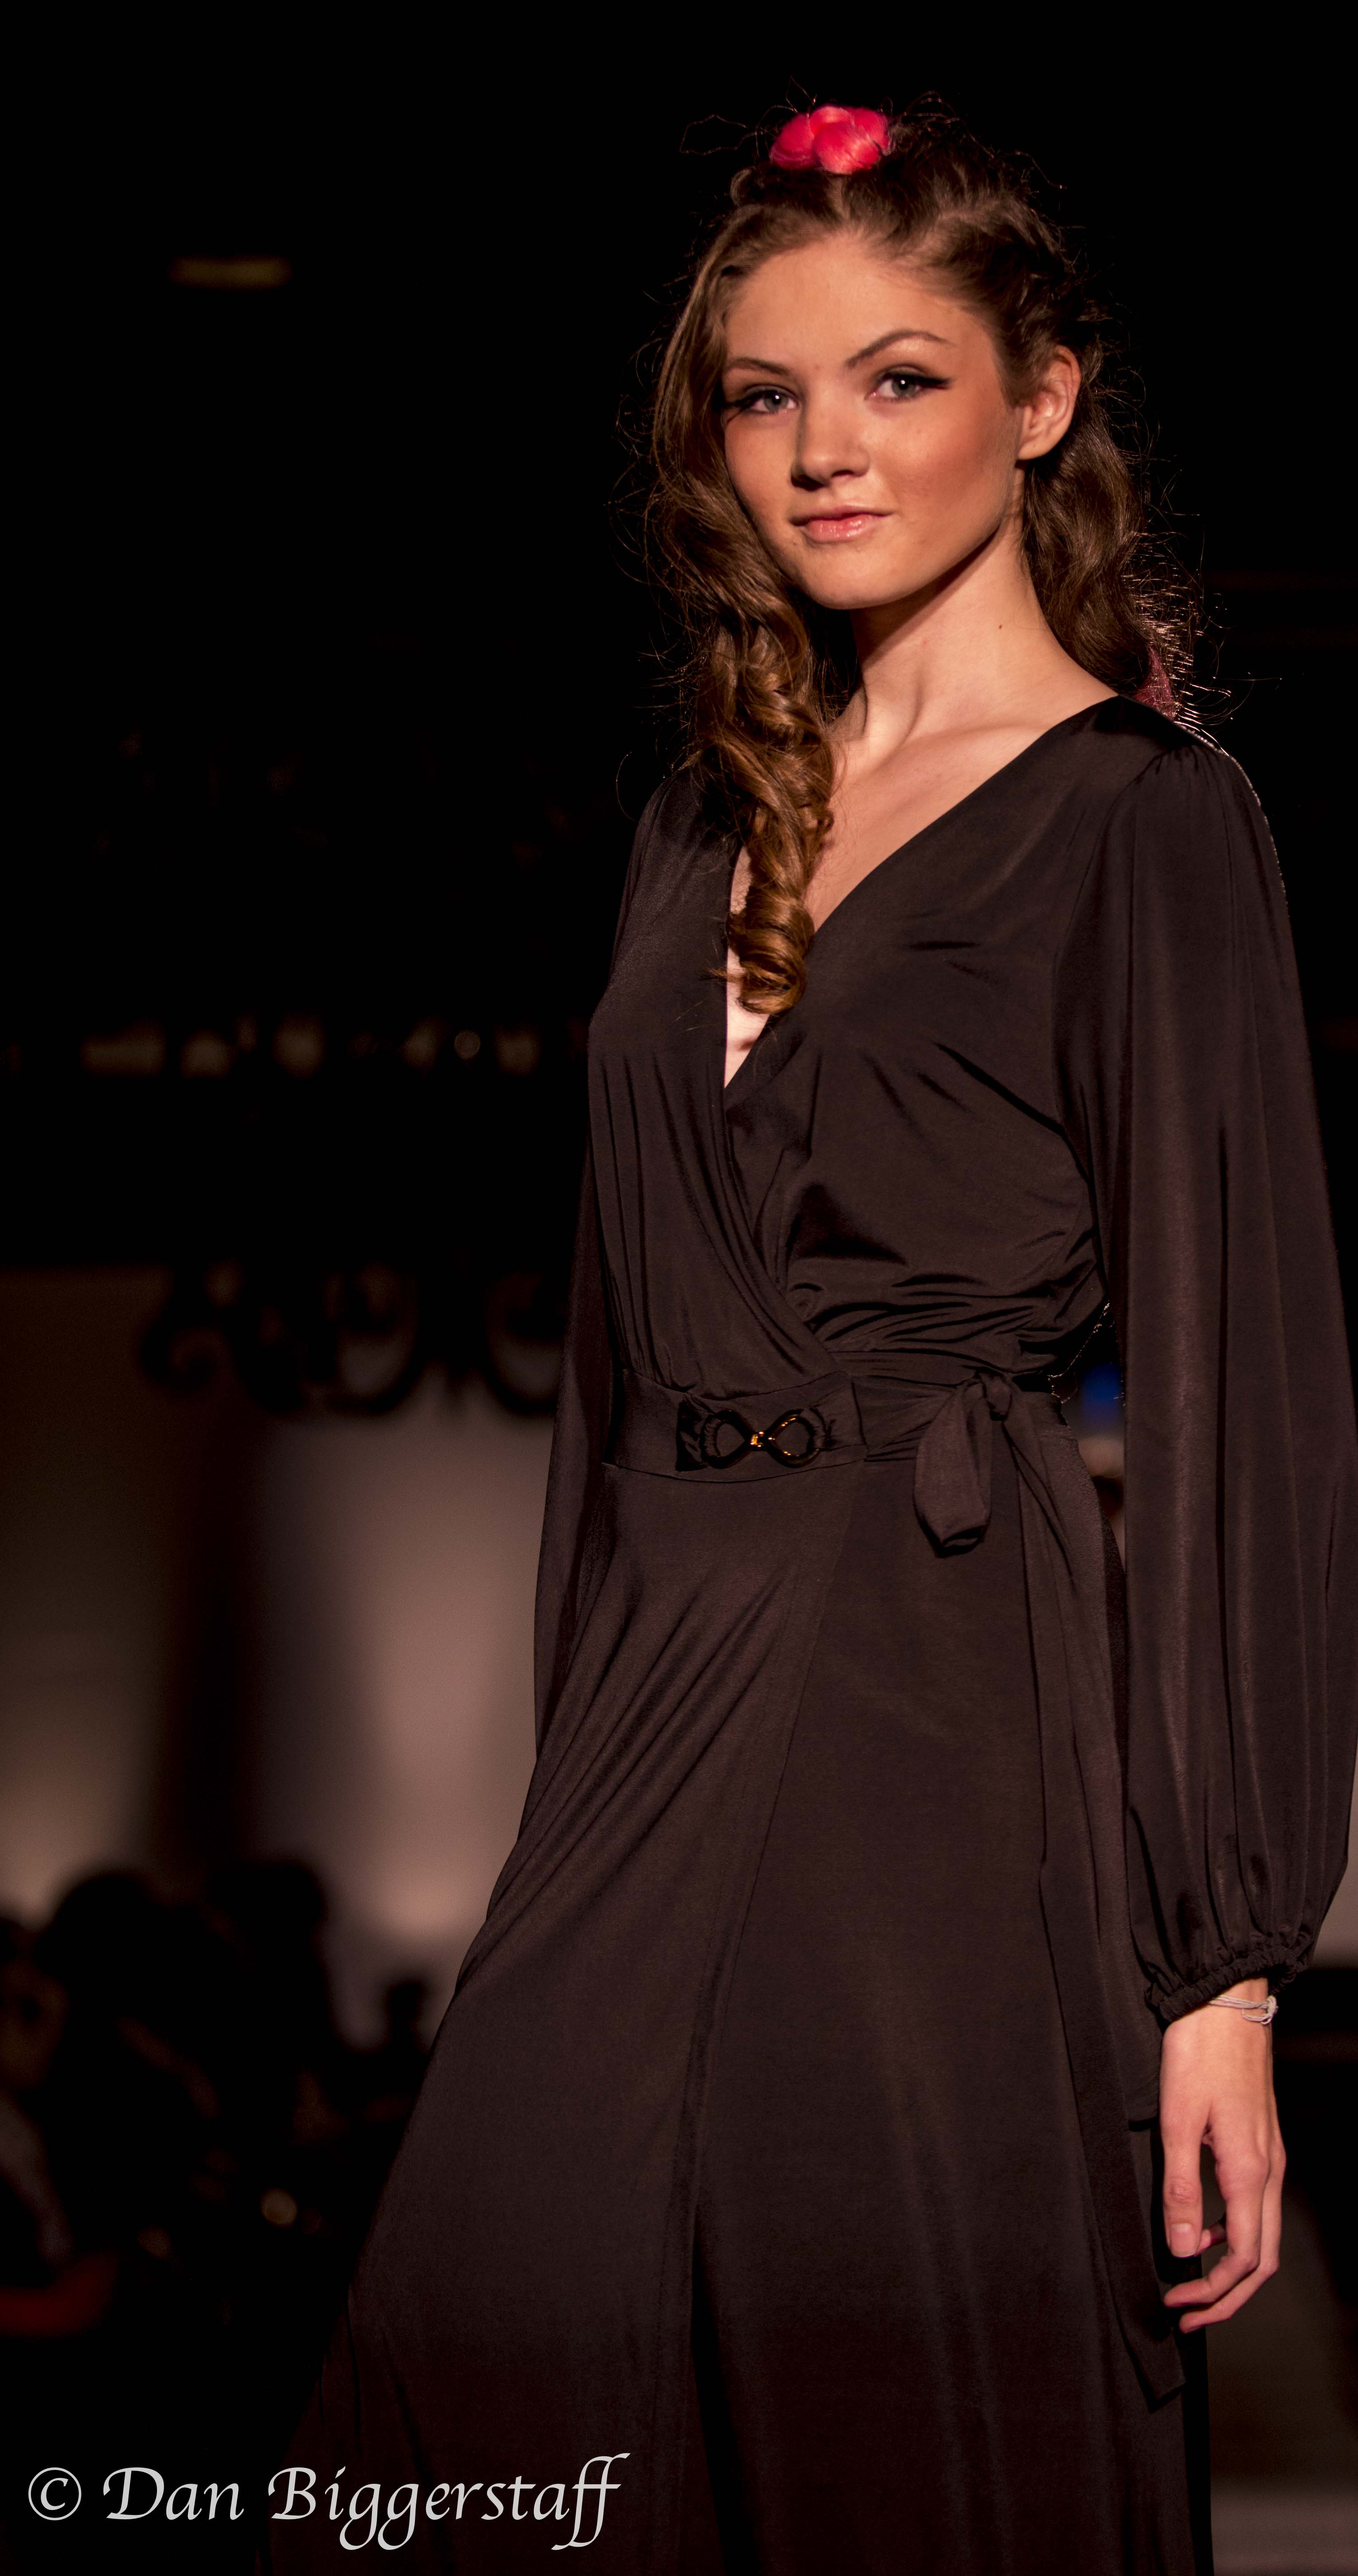
I wanted to move from the level of serious amateur to professional in photography.  A pro- photographer friend suggested I take thousands of photos and be my own strongest critic. Street photography became my passion, making it easy to take a gazillion photos of a variety of subjects. It was easy to move from street photography to women’s fashion, the next stop in my photographic journey. But realizing I could not shoot women’s fashion professionally in my hometown of Savannah, Georgia, I am having a blast with portrait and headshot photography.  I jokingly say “I have not decided what I am going to do when I grow up.” Just having fun!

Connection skills, learned both as a physician and photographer, enable me to give my clients photographs that characterize who they are. Now that you know something about me, please call and give me the opportunity to get to know you and take your portrait/headshot photo that will elicit a “like who you see” response!

Headshots

Things happen. My latest blog post was completed, but not saved, on my desktop; and an automatic update program restarted my computer – blog post gone. I continue to learn, which is a good thing.

Even though I am considered a leader in the surgical treatment of endometriosis, anytime I go into the operating room with other physicians I always learn something. The same thing applies when I work with other photographers. I will soon be beginning a three month on-line headshot photography course and for the course need my own headshot.    Not having one that is current, I decided to use this as motivation to do a self-portrait. A self-portrait is something I have thought about doing for a long time – one of those things on the back burner.

With my wife out of town and some extra time available, I spent a number of hours the first day with the set up and then the shoot itself. The particulars of the setup were my Nikon D800 on a tripod set at eye level, an 85 mm, f 1.4 portrait lens set on manual focus, a SB910 attached to a beauty dish and placed just behind and above the camera, a white collapsible backdrop lit on either side with two SB910’s with flags to prevent light spill, and a bar stool at a distance of about 5 1/2 feet from the camera. The camera settings were ISO 200, f 11.0, and 1/100.

If you have not taken a self portrait, it is an exercise I highly recommend to anyone photographing people. My shutter release cord is not long enough to reach from the camera to the stool, and my cordless remote had disappeared. The shutter release timer on the camera was set at 10 seconds, giving me just enough time to get to the stool, position myself, and strike a pose. Sit down at a 45 degree angle to the camera; then turn to the opposite side. Extend the chin towards the camera, no too much. Tilt the head to the left, no a slight tilt to the right looks better. Just a slight smile, not too much; it looks cheesy. Make the glasses are angled down to avoid the reflection of the flash. I had a feeling (that was definitely confirmed) that there is a huge difference between posing someone else and posing yourself.

My first efforts were the classic “deer in the headlights” look, highlighted with a cheesy grin – this is what Peter Hurley would term “out to lunch itis.” Peter is an internationally known headshot photographer who is teaching the above mentioned course.  I kept thinking “what would Peter be saying to me if he were taking the photo?”.   “Don’t look so miserable. Hint of a squint, hint of a smile, but stay serious, kick it up a notch.” For the next several days when I got home from my medical job, I spent a few minutes pushing the shutter, sitting on the stool, and trying to strike a pose Peter would approve of. Finally, I captured a photo that I hoped would elicit a “SHA-BANG” or exclamation of approval. Not perfect, but getting better.

 me-001

Looking and Seeing

You can take an average picture of an extraordinary thing or an extraordinary picture of an average thing.   Simply looking at a beautiful landscape is at one level, while seeing the many details of the picture in front of you is a much deeper level. The same concept applies to looking at a photograph and also to taking the photograph. A camera may simply be pointed at a scene and the shutter pressed, or very careful in-camera cropping may be used to include only those things desired and to exclude those not desired. Objects may be purposely added to or removed from, or even moved within the scene.  Lighting may be only available light or very elaborate artificial light.

These same ideas can be applied to photographing people. Pointing a camera and taking a simple snapshot of a person can record the moment. A more pleasing photograph can result from careful composition with attention to foreground and background and lighting. A great photograph may be captured of a spontaneous moment or may be staged and posed.  Most portraits are best made with careful consideration of the background and lighting along with posing the person being photographed. If the client is not a professional model or actor, talking continuously with the client to carefully adjust the pose in the photo will help take away the “deer in the headlights” look that many people get in front of a camera.

These are several photographs made during a shoot while my wife and I were in North Carolina baby-sitting our granddaughters to give their nanny a break. I thought the nanny looked gorgeous and asked if I could photograph her. She said she gets very nervous when having her photograph made but was not the least bit nervous when distracted by continual posing instructions. Don’t you think she looks great?! The best way to view the photographs is to click on an individual thumbnail.


Photographic Styling

A photograph may be composed in an instant, as in street photography or at a child’s birthday party, or after the fact during the editing process. A photograph may also be styled, often taking hours of planning and staging before the final photo is actually composed. This photograph is an example of the latter process involving not only the photographer but also a stylist, lighting assistant and a graphic designer at the shoot. The first photo was the original shot and the one following the marketing piece from the photo.

chair-001


artful poster


Never Stop Learning

When assisting or being assisted by another surgeon, I always learn something new.  The same thing applies to photography.  Santa Fe, New Mexico (The Santa Fe Workshop) was the destination for a recent workshop on the use of small flash (speed light).  David Tejada, a friend from a prior photography workshop was outstanding as the leader of the event.  Most of you are aware of the options for lighting a photograph, so I will only touch on the highlights. If you are a pro, please skip to the photos and enjoy.

Ambient light, whether it be outdoors from the sun, or other source such as a fire, or indoors from tungsten or fluorescent bulbs or even from a candle, is the most commonly used source of light for photography.  Many well-known photographers such as Jay Maisel and Sue Bryce use ambient light almost exclusively.  Artificial light sources, when needed, come in many shapes, sizes and costs. The smaller units, detachable from the camera, are called speed lights. (The pop up flashes on many cameras are rarely used by professional photographers for lighting.)  The advantages of the speed lights are their small size and portability and the fact they do not have to be attached to a 110-120 volt electrical source. The major disadvantage of the speed light is the limited power (measured in watt-seconds) they produce. A good speed light can produce around 100 watt-seconds of power. This problem can be overcome to some degree by putting 2-4 speed lights (or more) together to increase the light output. One situation requiring extra light power is taking a photo in bright sunlight.  My first photograph below was taken in the early afternoon on a bright sunny day; I closed down my f-stop (f22) to make the picture appear as if it were taken at dusk.  In order to light Adam, the model, and to make it look like one light source, I taped two speed lights, one upside down on top of the other. Other situations would require a studio light with much more power.

Book and books have been written on lighting in photography.  Good on-line sources for lighting information are major manufacturers and distributors of lighting equipment such as:        http://www.profoto.com/blog/http://www.bhphotovideo.com/indepth/category/tags/lightinghttp://www.adorama.com/alc/, and http://fjwestcott.com/university/, just to name a few.

Here are a few of my photos from the workshop. One was taken in a studio and the others on location. You may recognize the church at Eaves Ranch, one of the most frequently utilized sets in Western movies. All but two of the photos were taken utilizing small flash for lighting.  The best way to view the photographs is to click on the first one and scroll through the rest.

The Real Deal

Check out posts on January 5, 2013 and October 3, 2012 for earlier information about The Art of Great Fashion 2013. This shows one of the outfits worn by a gorgeous model in the show. To see all of the photos posted from the event, go to Gallery/Events/The Art of Great Fashion – 2013.

Lauren-100